
Setup A Game World In Foundry Virtual Tabletop
A walkthrough for getting started with my VTT of choice

Welcome to the Glyph and Grok - A weekly blog-letter exploring topics in the tabletop gaming arena. We explore design, execution, and culture relating to anything played on a tabletop. Explore the solo play entries from Glyph and Grok here.

Introduction
I have sat down yet again to play out the next solo game session I’ve had in the hopper for a couple weeks now, but have instead caught myself organizing all the info to play rather than just sitting down to play. The Shadowdark campaigns I run set in my game world of Giathos are the crucible for creating canon world lore, solo play content, and play-test ideas.
I found myself ready to update my Foundry VTT software and create a new solo game world and if I’m going to do that, I might as well document it. After all, my very first piece of writing for this blog-letter was regarding essential add-ons to use with Foundry, and I still like all of them - so If you read through this and get your own server going, be sure to check that out (link will be at the bottom).
This write-up will assume you’ve looked around at all the virtual tabletop options out there and you want what Foundry is offering:
Self-hosted - the server lives on the computer you’re playing on, a dedicated server/PC at your location separate from you play computer, or hosted on a third party cloud server
Baked in features like lighting and token vision and character sheets with
Endless top end capability with high performance level - If you wanna go deep, you can cook up scenes with special effect, music, and myriad community-driven mods designed to elevate the experience for you and your players. Even create your own modules and macros using the API if you’re a crazed programmer like me.
One-time purchase - no subscription necessary
A 7.5 minute video showcasing all of the features:
Minimum Viable Product
If you’re a gamemaster like me who has the tendency towards the mortal sin of over-preparation, a tabletop program like this may feel like a trap. The temptation certainly exists, and I’ve spent some nights messing with the technical stuff in the background making it feel like there’s another level of prep between me and my game, but that is a motivation for my writing this is to cut through all that to the fastest basic setup.
The goal:
Install the server software
Create an [Insert TTRPG game rules system]-based game table “world”
Make your server connectable to your friends from the outside world
Prep and play your games
The goal here is to explain going from nothing to having your own foundry virtual tabletop operational with the option for you to use it solo or have some friends connect to your server and play with you.
Only the game master hosting the game need actually pay for the software - Players just connect with any web browser and it runs really well compared to other options.
Let’s Get Started
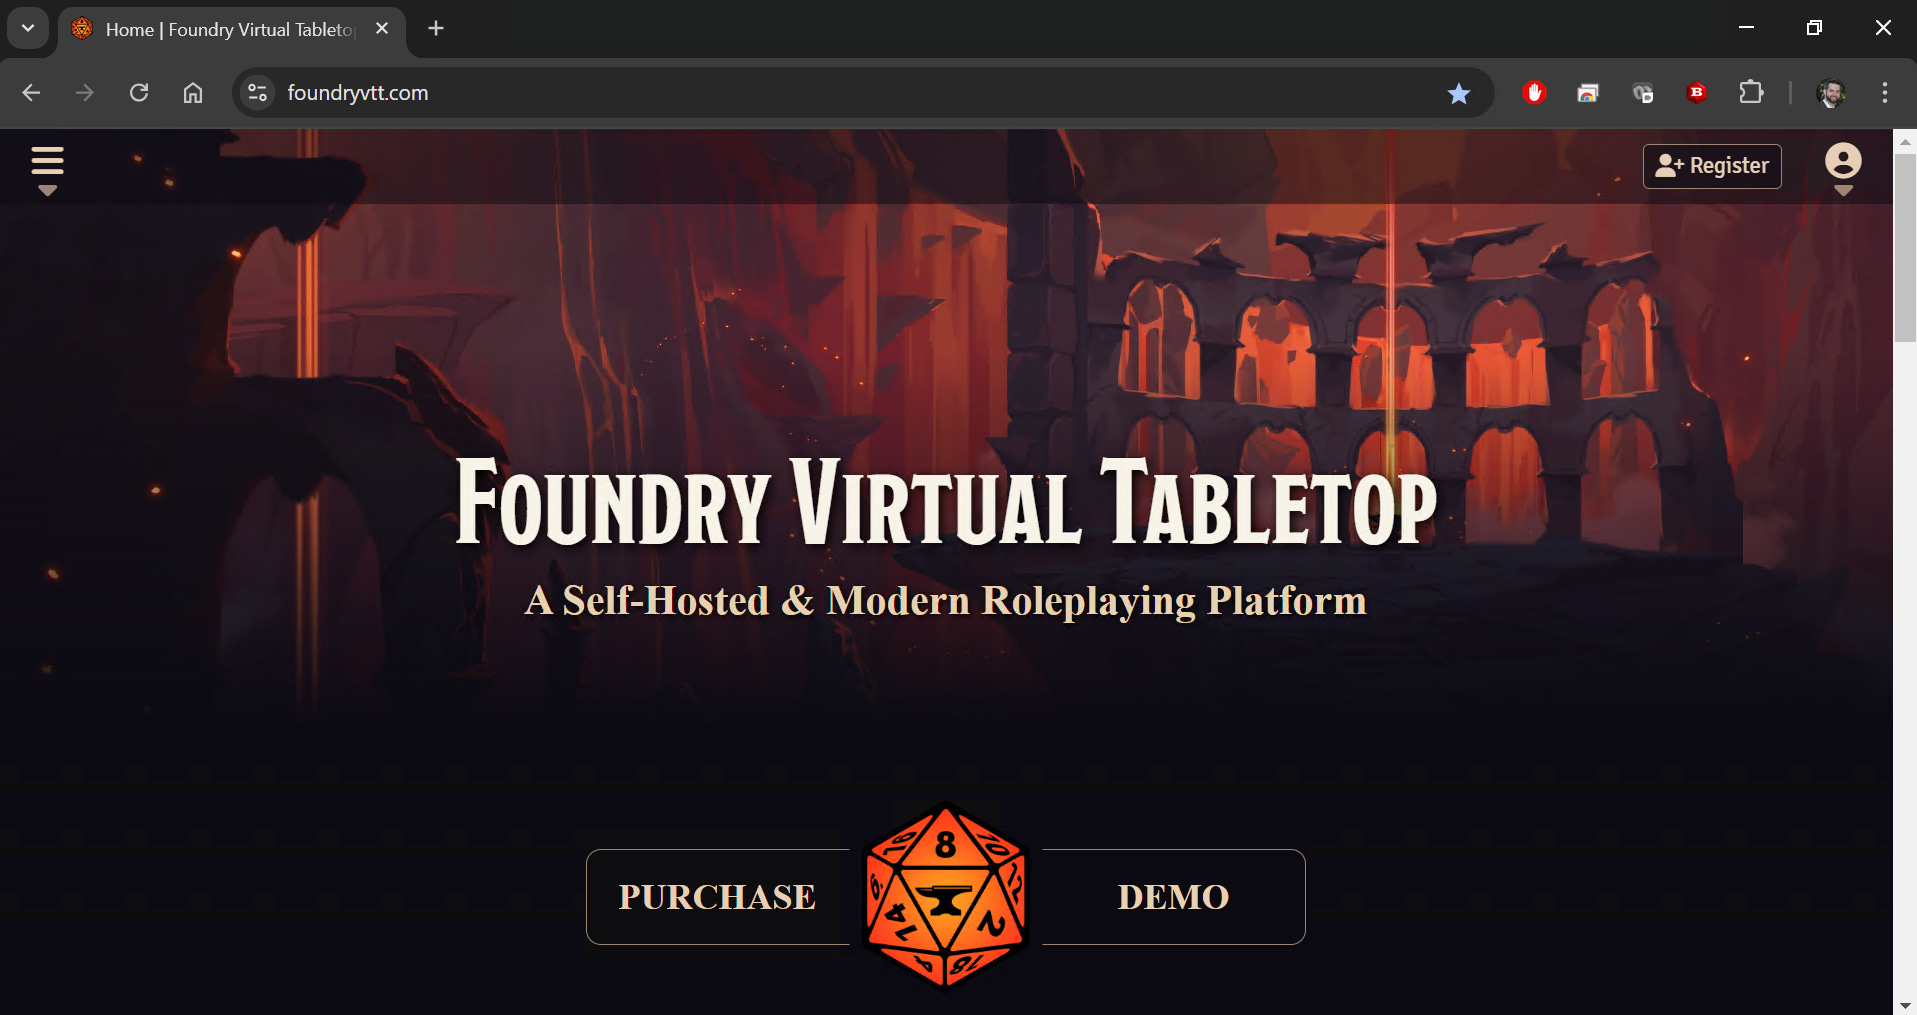
Step 1: Purchase and Download (foundryvtt.com)

Step 2: Install


Install on the computer that will host the database of the games you run. This can be the computer you play from, or you can do what I did and have this on a second computer that lives on your network and is available as long as you keep it on and the software running a world. There are many benefits to this slight complication - I’ll list off further down.
Create an administrator access password - Don’t tell your players this password :P You’ll need this for the background world setup stuff.
Step 3: Configure the server software
After providing an administrator access password, you’ll see something like this:


Click the gear, here you can change the administrator password and set the “User Data Path” - This is where all the stuff lives if you ever need to find it. Any pictures or media uploaded to the server will live in this folder.
Install the TTRPG game rules system you want your new game to utilize. Each game has it’s own system that requires installation and only one can be running at a time. - For this example it will be Shadowdark. Click “Game System” and “Install System”


Select “Game Worlds” and then “Create World” to make an instance of your chosen ruleset system


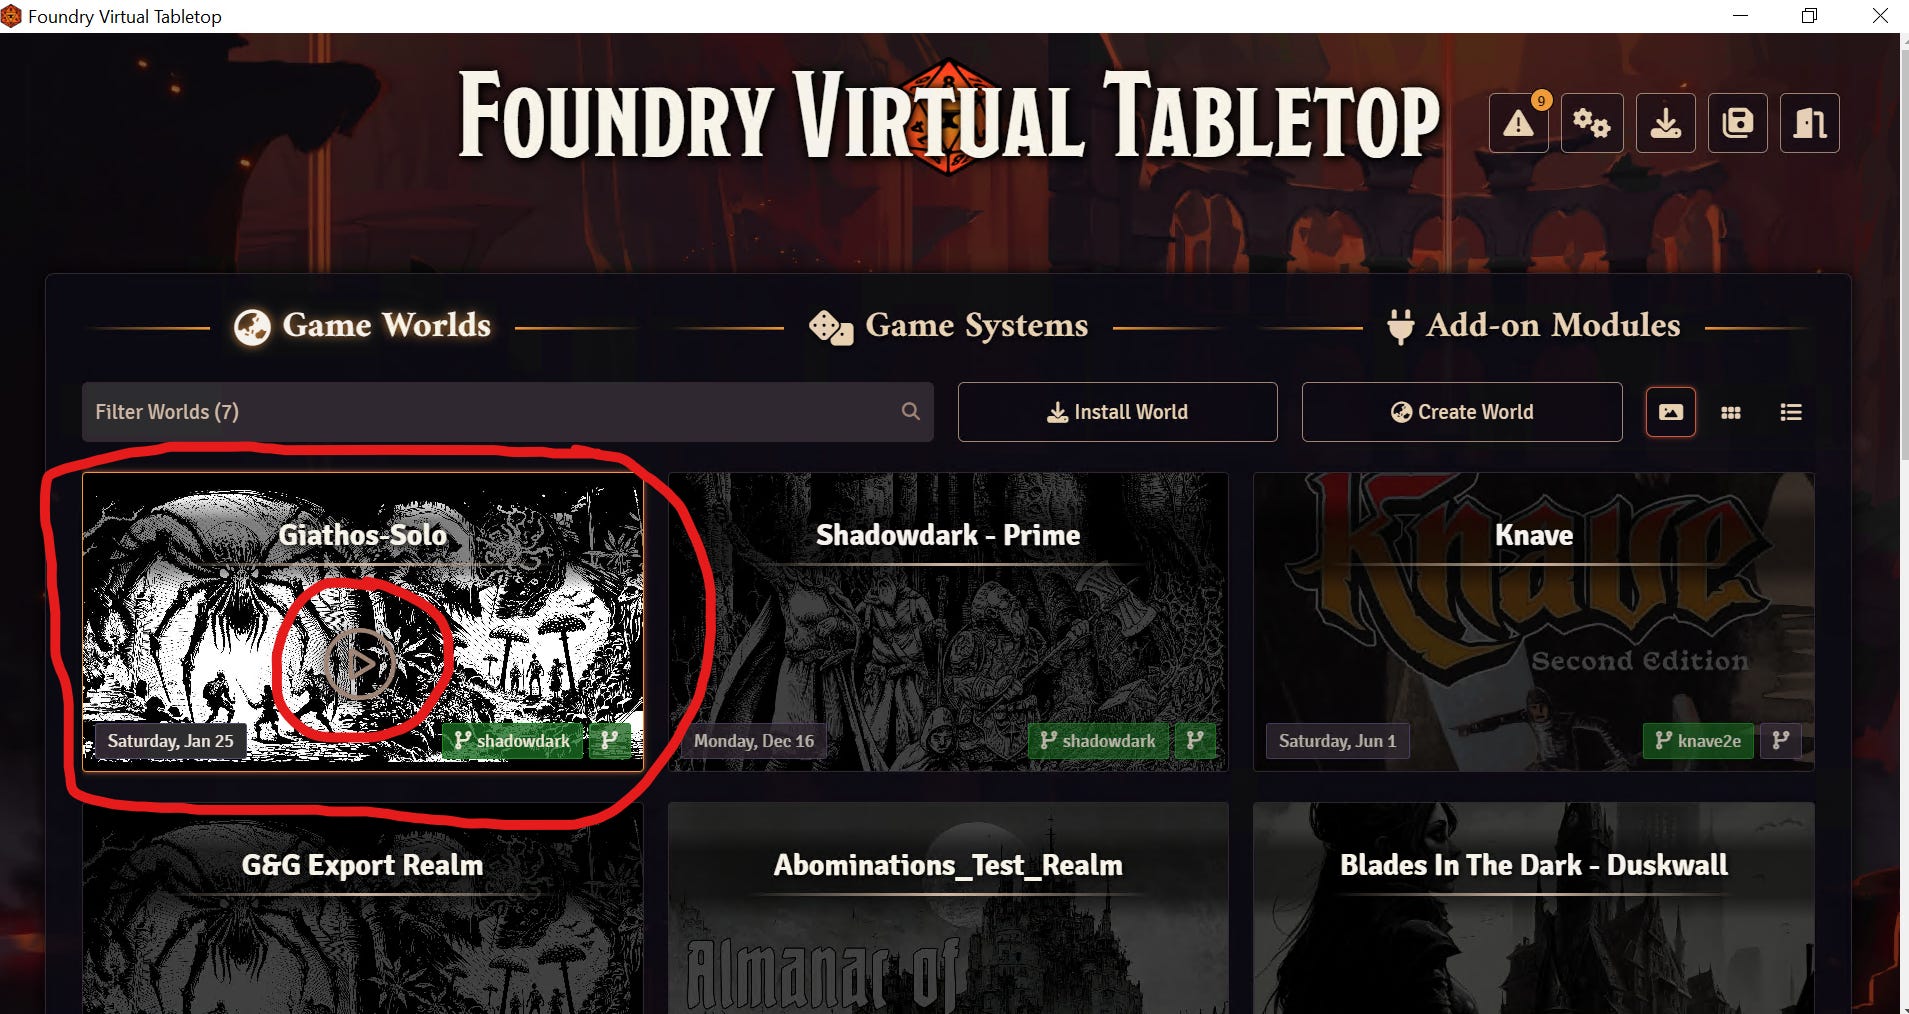
Hit the “play” button in the center of your newly created game world and you’ll see something similar to below - this is the login screen any player connecting to your active server will see and they can select their user name from the drop down under “Join Game Session” and use the password you’ve provided for them (or they’ve created if you set it up that way)


Your first login will be with the “Gamemaster” username and NO PASSWORD - it’s blank just hit enter or click “Join Game Session” - You’ll change this password as part of the setup before having anyone else connect - Or you can just leave it if it’s all solo for you.
What you’re seeing now is the game master view of the virtual tabletop, which you can use like this from within the server software OR you can connect to the server from a web browser anytime after you hit the “play” button on the specific game world - That means it is listening and waiting for logins - But you have to setup the logins to determine who can see what!
The video tutorial on the right pane is worth a watch if you plan to play Shadowdark on the VTT - I’ll do another post regarding the specifics but the video is on YouTube here.
Step 4: User Management
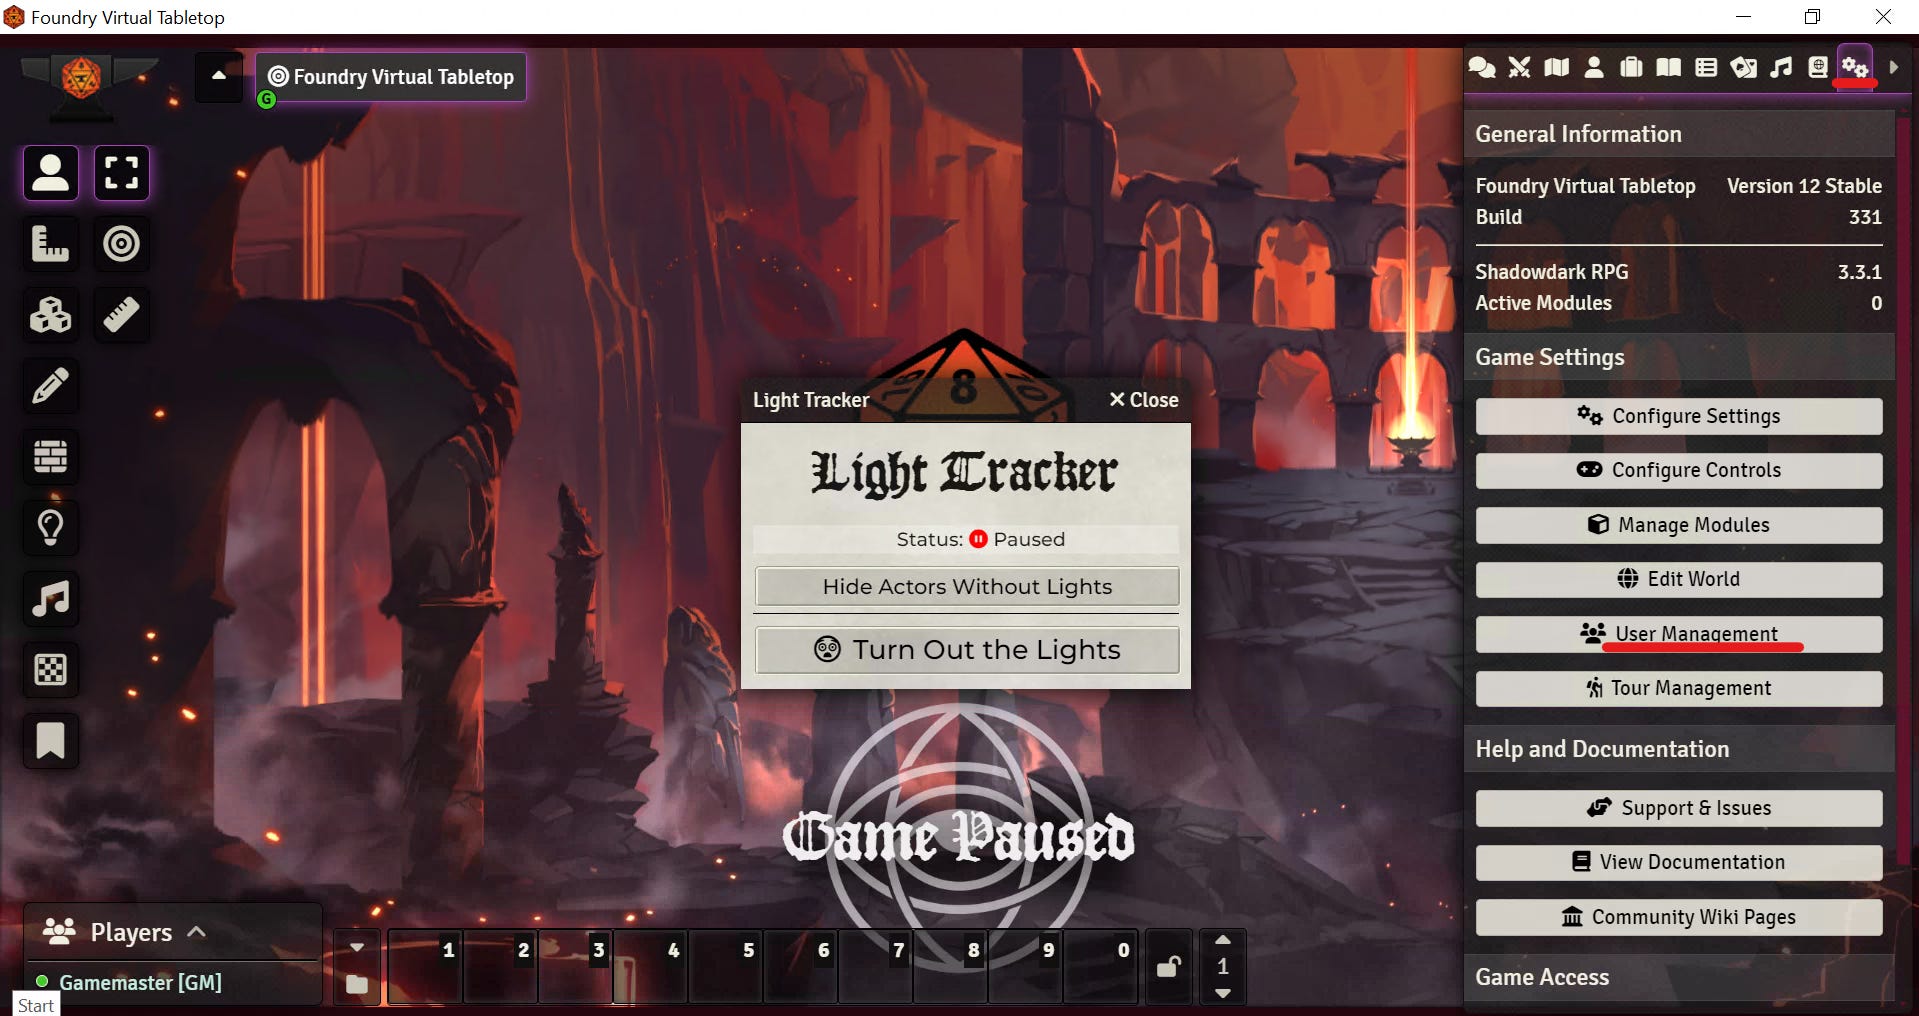
On the right-pane toolbar there’s a double gear for configuration → click that and then “User Management”

Setup a login for yourself and any other users that will be connecting to your server

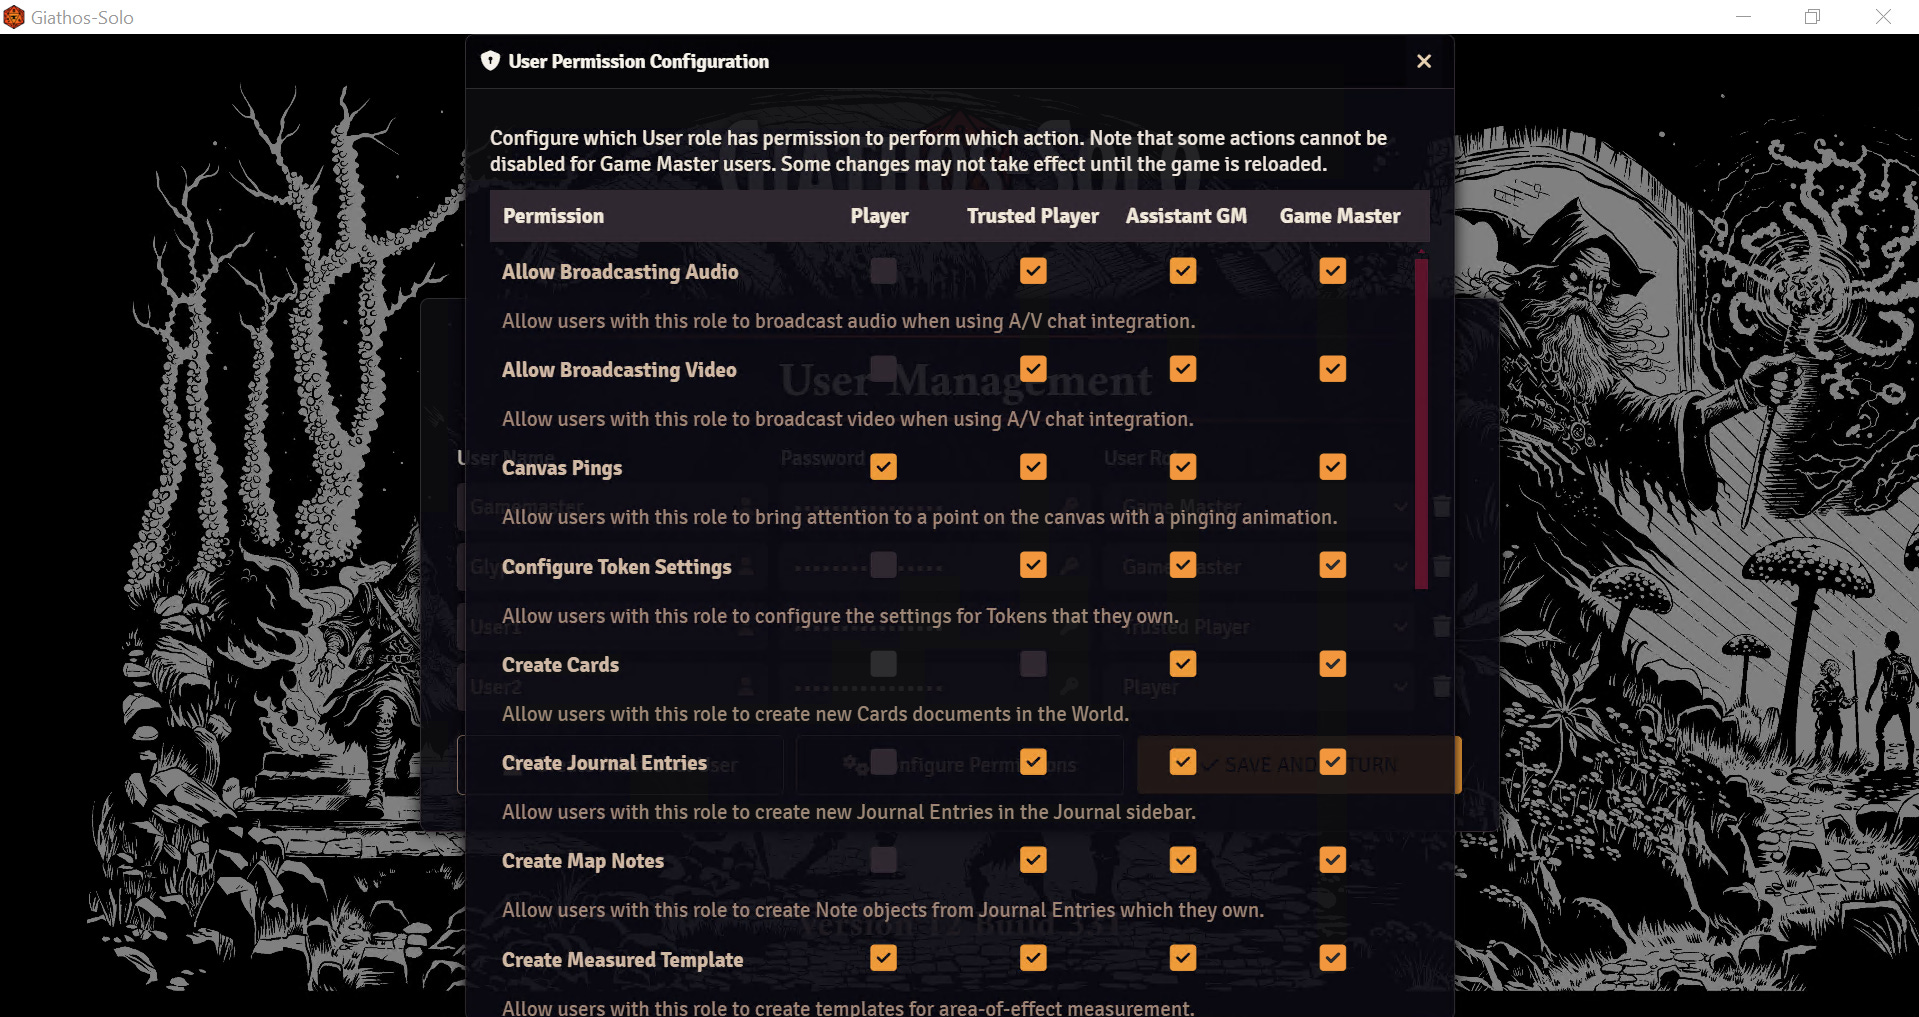
Be sure to look at “Configure Permissions” - If you can trust your players to upload their own images for their characters, you can set that capability in the checkboxes on that screen. I recommend making friends “Trusted Player” and giving that almost all of the capabilities.

What you see when clicking “Configure Permissions” If you have another person that will be Game Mastering games on your server, you can give them a login with that capability as well, but be careful as this is the most powerful setting. They can do everything that doesn’t require the Administrator Access Password.
Step 5: Make Your Server Reachable From The Outside World
This step varies for all based on what Router/Modem configuration you use at your location, but the concept is the same for all - You need to setup what is called “Port Forwarding” on your router.
Port forwarding makes it so someone can enter your IP address and Foundry’s port into a web browser and achieve a connection to your game world server. The router will receive a connection request and needs to know that traffic on that port needs to be forwarded from your external IP address (the one the world uses to connect to your specific internet location provide by your internet service provider) to the computer running the game server. Example below.
If you’ve never configured port forwarding on a router before, see this: https://portforward.com/how-to-port-forward/
Setup a static IP on the computer running the server
Forward port 30000 based on your specific router (Step 3 in the above link)
Go to whatismyip.com to find your public IP Address (the one your players will need to enter to connect to you)
If you get this working - your players will enter xxx.xxx.xxx.xxx:30000 into their web browser bar and see the game login screen.
BE CAREFUL WHO YOU GIVE THIS INFO TO!

Alternatively: Connect From The Same Local Network

Because I’ve done all of the above on a computer on my home network, I can use the computer name at the specific port 30000 to play from my desktop. This means that me and my players are connecting to the same computer (named nethost) from two ends and it works great! They use the external IP address and Port, I use the computer name and port in my web browser. - no Lag or hang ups as I’ve seen many times using fully online setups like Roll20.net
This also works for others on the same local network if you want to have a server computer at your home and have others use the virtual tabletop in a live setting - all players could login using the computer name and port.
Conclusion
Hopefully this makes sense and works for you. Once you have your virtual tabletop server running and people are able to connect to it, there’s a whole world of options to explore. Below is my very first article on Substack that explores some essential add-on modules for Foundry and there’s myriad official and unofficial things to check out and try. You can now also start creating your own scenes, uploading your own maps - or taking any maps you’ve paid for, and get them quickly ready for game night.
I think this is a good conclusion point for this topic, another one will come soon that delves into specifically using Shadowdark in Foundry, and I also will explore what specifically I will use it for in keeping data organized for my solo games.
Please comment with any questions! Share and like if this helps you!
Till next time!
Essential Add-on Modules for Foundry Virtual Tabletop

I’ve been running a weekly game of my new favorite tabletop role-playing game, Shadowdark, via an instance of Foundry Virtual Tabletop on a server at my house. I’ve also used the platform to run Dungeons and Dragons 5E and Blades in The Dark, and Foundry has myriad module add-ons produced by third party programmers and hobbiests. W…
Thanks for Reading!
Please like, share, and comment your thoughts!